C custom_78 Guest Jul 30, 2004 #81 Pics of finished armrests Attachments Picture_083.jpg 2.4 KB · Views: 15
94_bronc New Member Jul 30, 2004 #85 damn i wish i could do half that now let alone when i was 15 nice bronco and im jelious {spell check}
damn i wish i could do half that now let alone when i was 15 nice bronco and im jelious {spell check}
C custom_78 Guest Aug 7, 2004 #86 Finished capping off the rear bumper and priming it so it doesn't rust. Attachments Picture_087.jpg 2.3 KB · Views: 11
C custom_78 Guest Aug 7, 2004 #87 Another shot of the whole rear bumper finished and primed. Attachments Picture_088.jpg 2.4 KB · Views: 12
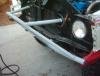
C custom_78 Guest Aug 8, 2004 #88 Worked on the front bumper today. Cut the bar that ran through the core support so I could finish welding up everything. When I put it back together I will use flanges that I made. Attachments Picture_092.jpg 2.7 KB · Views: 13
Worked on the front bumper today. Cut the bar that ran through the core support so I could finish welding up everything. When I put it back together I will use flanges that I made.
C custom_78 Guest Aug 8, 2004 #89 Another of the bumper Attachments Picture_093.jpg 2.6 KB · Views: 13
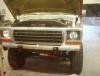
C custom_78 Guest Aug 8, 2004 #90 What the front of the bronco looks like without the bumper Attachments Picture_094.jpg 2.6 KB · Views: 13
C custom_78 Guest Aug 8, 2004 #91 Had to notch the frame for the bumper. Attachments Picture_095.jpg 2.1 KB · Views: 11
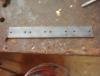
C custom_78 Guest Aug 8, 2004 #92 Flanges drawn out and drilled on 2" flat bar. Attachments Picture_090.jpg 2.2 KB · Views: 12
C custom_78 Guest Aug 8, 2004 #93 Pics cutting the flanges. Attachments Picture_091.jpg 2.1 KB · Views: 13
C custom_78 Guest Aug 8, 2004 #94 Trusty tool for cutting the rollcage. Sawsaw Attachments Picture_096.jpg 2.3 KB · Views: 13
C custom_78 Guest Aug 9, 2004 #95 Update of todays progress on the front bumper. The finished flanges. Attachments Picture_099.jpg 1.9 KB · Views: 11
C custom_78 Guest Aug 9, 2004 #96 Had to take the grill and hood off for final welding. Attachments Picture_101.jpg 2.4 KB · Views: 12
C custom_78 Guest Aug 9, 2004 #97 The front bumper after final sanding and welding. I primed it so it wouldn't rust. Attachments Picture_104.jpg 2.7 KB · Views: 11
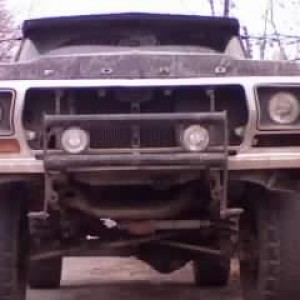
C custom_78 Guest Aug 9, 2004 #98 Capped off the bumper. Here is a picture of the bumper on the bronco without the grille or hood. Attachments Picture_105.jpg 2.7 KB · Views: 12
C custom_78 Guest Aug 9, 2004 #99 Some mid day progress pics because I had some time. This is the inner fenderwell that need to be cut for the shook hoops to clear. Before: Attachments Picture_106.jpg 2.4 KB · Views: 11
Some mid day progress pics because I had some time. This is the inner fenderwell that need to be cut for the shook hoops to clear. Before:
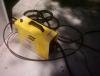
C custom_78 Guest Aug 9, 2004 #100 Tool I'm using to cut it out. Esab Plasma Cutter. Attachments Picture_107.jpg 2.3 KB · Views: 10