My 78 Bronco Project

  • Thread starter Thread starter custom_78
  • Start date Start date
C

custom_78

Guest
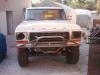
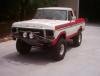
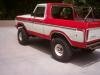
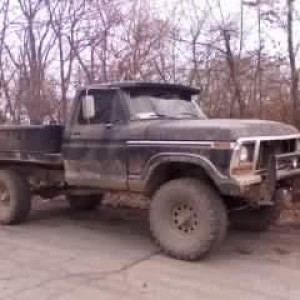
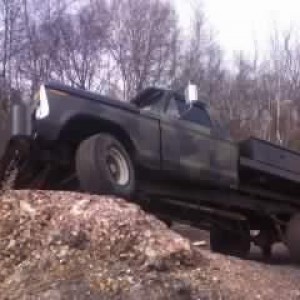
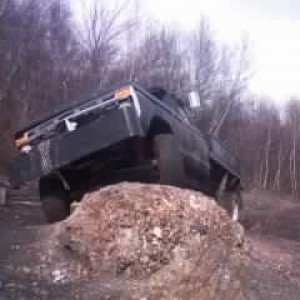
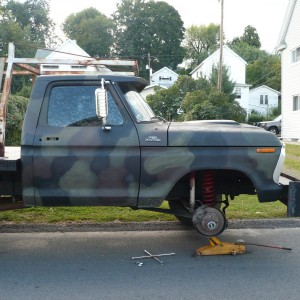
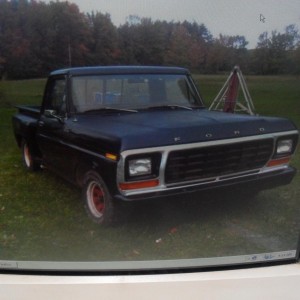
Here are some pictures of what it looked like three months ago. I still have to try to find pictures of what my Bronco looked like when I bought it, but it might take me awhile because they were taken with a non digital camera. I have had my Bronco for almost a year now. It has been a fun and challenging project that keeps me working in my free time. Well, here is what it looked like after I finished some basic rollcage work.


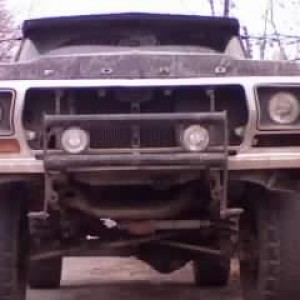
Front Prerunner style bumper I made.
 

Attachments

  • 56.jpg
    56.jpg
    2.6 KB · Views: 30
Another picture
 

Attachments

  • Picture_082.jpg
    Picture_082.jpg
    2.9 KB · Views: 32
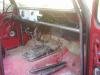
Here is what the inside looked like after some cleaning.
 

Attachments

  • Picture_085.jpg
    Picture_085.jpg
    2.7 KB · Views: 33
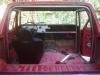
Another from the back of the inside.
 

Attachments

  • Picture_086.jpg
    Picture_086.jpg
    2.8 KB · Views: 26
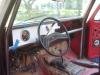
Me getting anxious to make a dash. Owell I guess I'll just have to wait until I can buy some aluminum.
 

Attachments

  • Picture_087.jpg
    Picture_087.jpg
    3.1 KB · Views: 30
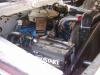
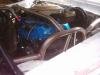
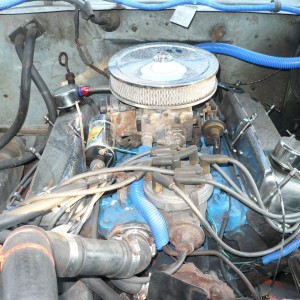
Engine compartment after some cleaning and painting.
 

Attachments

  • Picture_093.jpg
    Picture_093.jpg
    3 KB · Views: 29
This is a more updated picture of the back after my aluminum panels are cut out.
 

Attachments

  • Picture_009.jpg
    Picture_009.jpg
    2.4 KB · Views: 27
Now for the pictures I took today after a lot of work was done. These pictures are completely up to date.
 

Attachments

  • Picture_015.jpg
    Picture_015.jpg
    2.2 KB · Views: 28
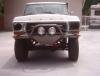
The very front of my Bronco with 8" offroad lights and a custom aluminum skid plate.
 

Attachments

  • Picture_016.jpg
    Picture_016.jpg
    2.3 KB · Views: 26
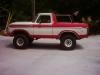
More pictures of the exterior. Not painted yet, but it will be white when I am completely finished.
 

Attachments

  • Picture_038.jpg
    Picture_038.jpg
    2.5 KB · Views: 23
sorry for all the pictures but that's really the only way to show you guys what I'm doing.
 

Attachments

  • Picture_039.jpg
    Picture_039.jpg
    2.2 KB · Views: 20
The more exciting detailed pictures.


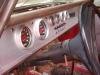
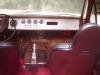
-Here's the dash completed. I just love it. The finish was done with a vibrater sander with 216 grit sand paper. My dad and I step rolled the edge of the aluminum to give it a embossed look.
 

Attachments

  • Picture_017.jpg
    Picture_017.jpg
    2.9 KB · Views: 29
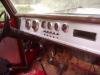
Another picture of the dash from the passenger side.
 

Attachments

  • Picture_030.jpg
    Picture_030.jpg
    2.7 KB · Views: 31
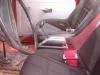
A picture from my future back seat shows the dash again and also shows the B&M Z-Gate shifter that I got for Christmas, and the suspension bucket seats that I also got for Christmas.
 

Attachments

  • Picture_027.jpg
    Picture_027.jpg
    2.4 KB · Views: 28
Another picture from the driver side with the door open.
 

Attachments

  • Picture_018.jpg
    Picture_018.jpg
    2.5 KB · Views: 24
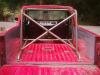
Now for some rollcage shots.
 

Attachments

  • Picture_025.jpg
    Picture_025.jpg
    2.9 KB · Views: 22
another. See how many tubes are consisted of in this rollcage. When the cae is finished it will be a 12 point cage tied into the frame.
 

Attachments

  • Picture_028.jpg
    Picture_028.jpg
    2.4 KB · Views: 21
Underhood rollcage pictures which also shows my travel shock hoops which will have 4 15" travel Explorer Procomp ES9000 shocks.
 

Attachments

  • Picture_034.jpg
    Picture_034.jpg
    2.6 KB · Views: 33
The fender opening. I had to take out the plastic liners and cut the metal fenderwell to allow enough space for the long travel shocks.
 

Attachments

  • Picture_032.jpg
    Picture_032.jpg
    2.2 KB · Views: 29
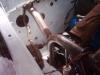
Rollcage goes right through the firewall.
 

Attachments

  • Picture_033.jpg
    Picture_033.jpg
    2.6 KB · Views: 21

Members online

No members online now.

Trending content

Forum statistics

Threads
4,181
Messages
19,140
Members
5,134
Latest member
Shaggy
Back
Top